If you’re in need of replacing the ends of your heavy-duty extension cords, this comprehensive guide will provide you with all the information you need. From understanding why your extension cord may be damaged to the step-by-step process of replacing the plug, you’ll find everything you need to revitalize your power tools and ensure safety and efficiency.
Key Takeaways:
- Replacing heavy duty extension cord ends is essential for the safety and functionality of your power tools.
- Extension cords can be damaged by misuse, such as pulling them out by the cord instead of the plug or running them over.
- Experts advise against repairing extension cords and recommend replacing the plug instead.
- To replace the plug, you’ll need basic tools such as a screwdriver, wire strippers, and wire-cutting pliers.
- Follow a step-by-step guide to ensure proper installation and functionality.
Why Was Your Extension Cord Damaged?
Extension cords can be prone to damage due to various reasons. Understanding these causes will help you prevent further issues and the need for replacement. Here are some common causes of extension cord damage:
- Pulling Out by the Cord Instead of the Plug: Tugging on the cord to disconnect it from a power source can strain the cord’s wires and connections, leading to damage over time. Always unplug by gripping the plug firmly.
- Stepping On or Running Over the Cord: Accidentally stepping on an extension cord or driving over it with heavy equipment can crush or break the cord, rendering it unsafe for use. Be mindful of cord placement and avoid allowing it to become a tripping hazard.
- Not Following the NEMA Plug Chart: The National Electrical Manufacturers Association (NEMA) provides a chart that outlines the optimal configuration for plugs and receptacles. Not following this chart can put strain on the cord’s connections and increase the risk of damage.
By being aware of these causes, you can take the necessary precautions to protect your extension cords and ensure their longevity.
“Taking proper care of your extension cord can help prevent damage and ensure safe operation.”
To visually illustrate the causes of extension cord damage, refer to the table below:
| Cause | Description |
|---|---|
| Pulling Out by the Cord | Tugging on the cord instead of the plug can strain wires and connections. |
| Stepping On or Running Over | Accidentally crushing or breaking the cord by stepping on it or running over it with heavy equipment. |
| Not Following NEMA Plug Chart | Using an incorrect configuration that strains the cord’s connections. |
Now that you understand the causes of extension cord damage, you can take the necessary steps to prevent it and ensure the longevity of your cords.
Why Is This the Only Cord Repair You Should Perform?
When it comes to cord repairs, especially for extension cords, it’s important to prioritize safety above all else. While it may be tempting to attempt DIY fixes for damaged cords, experts strongly advise against any repairs other than replacing the plug. Here’s why:
The Dangers of Improper Repairs
Attempting repairs on extension cords using methods such as electrical tape can be unreliable and pose a significant risk of electrical shock. These makeshift repairs may not provide proper insulation and protection, leaving exposed wires that could lead to accidents or even fires.
“Repaired extension cords can weaken over time, and the risk of electrical shock or other accidents increases significantly.”
Additionally, repairing damaged cords without the necessary expertise and equipment may result in improper connections, which can lead to short circuits and other electrical hazards.
Extension Cord Safety First
When it comes to electrical safety, it’s always better to err on the side of caution. Extension cords are designed to transmit electricity safely from one point to another, and any damage to their structure compromises their integrity and reliability. To ensure the safety of yourself and others, it’s crucial to take the necessary steps to address cord damage.
Replacement vs. Repair
Considering the potential hazards associated with cord repairs, it’s generally recommended to opt for a replacement instead. Purchasing a new cord with intact sheathing and proper insulation guarantees optimal safety and performance. By investing in a high-quality replacement, you can have peace of mind knowing that your electrical tools and appliances are powered by a reliable, safe cord.
Remember, your safety should never be compromised for the sake of a quick fix. By choosing replacement over repair, you prioritize the protection of yourself, your equipment, and your surroundings.
| Pros of Replacement | Cons of Repair |
|---|---|
| Guaranteed electrical safety | Potential risk of electrical shock |
| Optimal performance and reliability | Possible short circuits and other hazards |
| Longer lifespan | Unreliable insulation and protection |
| Easier and more time-efficient solution | DIY repairs may not have professional-grade results |
What Will You Need for the Replacement Project?
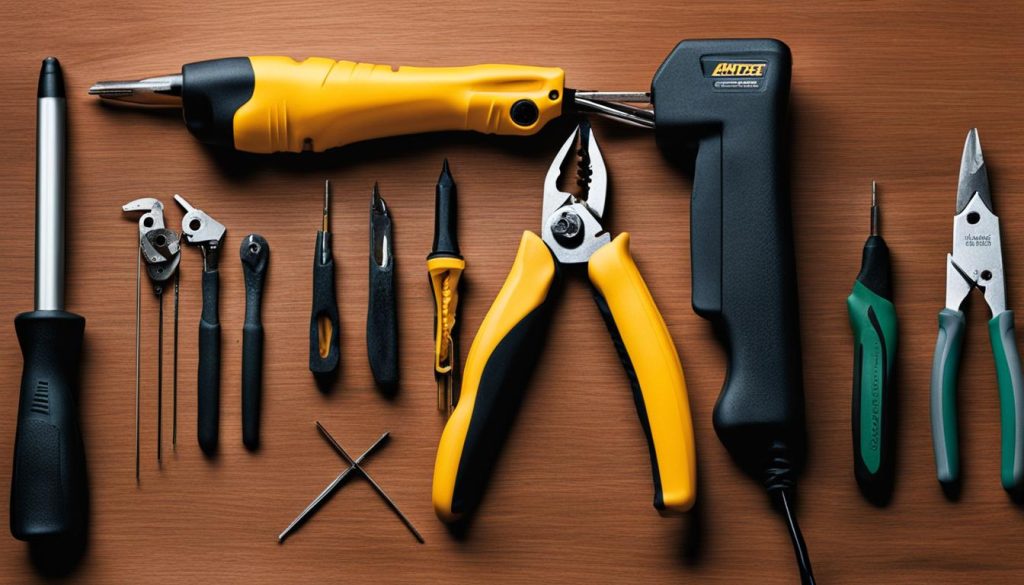
To replace the plug on your heavy-duty extension cord, you’ll need a set of tools and a suitable replacement plug. Here’s a list of everything you’ll need:
- Screwdriver: A flathead or Phillips screwdriver will be needed to remove the screws holding the old plug in place.
- Wire strippers: Wire strippers are necessary to remove the insulation from the wires, allowing for proper connection to the new plug.
- Utility knife: A utility knife will be used to cut the outer jacket of the cord, exposing the wires inside.
- Wire-cutting pliers: Wire-cutting pliers are essential for cutting and trimming the wires to the appropriate length.
- Replacement plug: It’s important to choose a replacement plug that matches the wattage and amperage ratings of your cord. This ensures that the plug is compatible and safe for use.
Having these tools on hand will make the replacement process much easier and more efficient. Make sure you gather everything before starting the project.
A Step by Step Guide to Replacing Extension Cord Plugs
Follow this step-by-step guide to replace the plug on your extension cord. By following these instructions, you can easily restore the functionality of your cord and avoid the need for a costly replacement.
Step 1: Cut the Outer Jacket
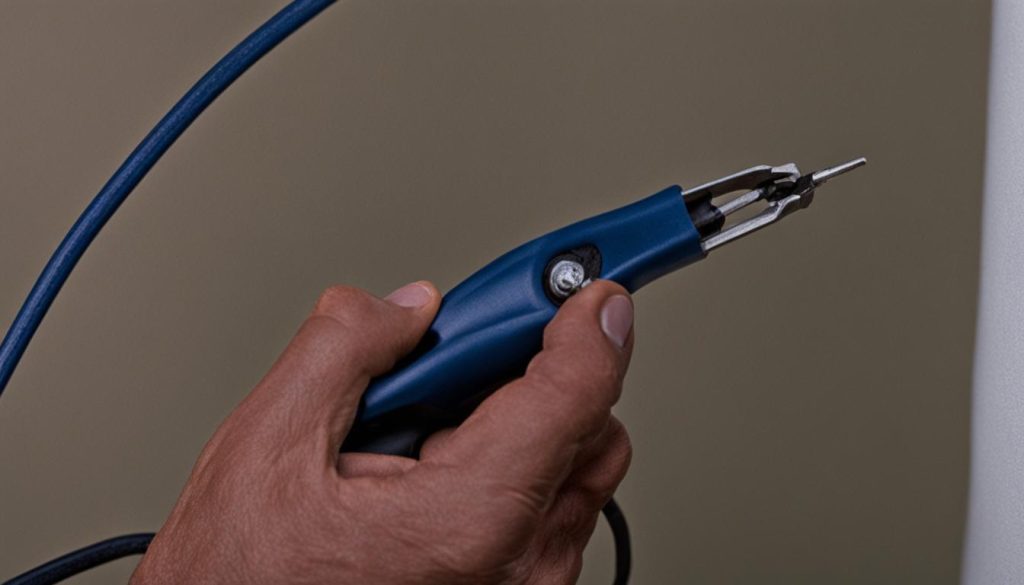
Using a utility knife, carefully cut off approximately two inches of the outer jacket at the end of your extension cord. This will expose the individual wires inside.
Step 2: Remove Cord Insulation
Peel back the insulation on each wire to reveal the copper conductor underneath. Use wire strippers to remove about half an inch of insulation from each wire.
Step 3: Connect the Wires to the Terminal Screws
Identify the replacement plug’s terminal screws: the brass-colored screw is for the hot wire, the silver-colored screw is for the neutral wire, and the green screw is for the ground wire. Loosen the screws, wrap the exposed wire end around the appropriate screw, and tighten securely.
Step 4: Ensure a Secure Connection
After connecting the wires, tug gently on each wire to ensure it is tightly secured to the terminal screw. Any loose connections can lead to issues with electrical flow and safety hazards.
Once you complete these steps, your replacement plug should be securely attached to your extension cord. Remember to test the cord’s functionality before using it to ensure a proper connection and safety.
How do you wire an extension cord plug?
Wiring an extension cord plug is a simple process that you can easily do yourself. By following these steps, you will be able to revitalize your old extension cord and save money instead of buying a new one. Here’s a step-by-step guide to help you:
-
Cut off the old plug: Use wire cutters to remove the old plug from the cord. Make sure to leave enough length to work with.
-
Slice the jacket: Use a utility knife to carefully slit the outer jacket of the cord about 2-3 inches. Be cautious not to cut too deep and expose the inner wires.
-
Attach the wires to the terminal screws: Strip about 1/2 inch of insulation from the ends of the wires. Then, connect the black or hot wire to the brass-colored screw, the white or neutral wire to the silver-colored screw, and the green or ground wire to the green screw. Ensure tight connections.
-
Reassemble the replacement plug: Following the manufacturer’s instructions, reassemble the replacement plug by securing the wires and tightening the screws. Double-check that the wires are securely attached and properly aligned.
By wiring an extension cord plug, you can extend the life of your cord and ensure its safe and reliable functionality. Remember to always follow proper safety precautions and consult a professional if you are unsure about any aspects of the process. Now that you know how to wire an extension cord plug, you can confidently tackle this DIY project!
The Importance of Choosing the Right Replacement Plug
When it comes to selecting a replacement plug for your extension cord, it’s essential to choose one that is suitable for your specific needs. The right replacement plug ensures not only proper functionality but also safety. Let’s explore the factors you need to consider when making this important decision.
Matching the Amperage and Voltage Ratings
One of the key considerations when choosing a replacement plug is to match the amperage and voltage ratings of your extension cord. These ratings are crucial in determining the power capacity and compatibility of the plug with your cord.
For heavy-duty extension cords with a ground wire, grounded three-prong plugs are the most suitable choice. These plugs provide safe grounding and are designed to handle higher amperage and voltage levels.
On the other hand, for simple household extension cords without a ground wire, two-prong polarized plugs are ideal. They offer a reliable connection while ensuring compatibility with lower amperage and voltage ratings typically found in residential settings.
Maintaining Safety and Functionality
By selecting the right replacement plug, you can ensure the safety and functionality of your extension cord. NEMA (National Electrical Manufacturers Association) has established standards for plug configurations, ensuring compatibility and proper electrical connections.
“Choosing a replacement plug that adheres to the NEMA standards guarantees a secure and safe connection for your extension cord.”
Additionally, a properly chosen replacement plug can minimize the risk of electrical hazards, such as short circuits or overheating, which can result from mismatched amperage and voltage ratings.
Choosing the Right Plug for Your Needs
Consider the intended use of your extension cord when selecting a replacement plug. If you use your cord for heavy-duty appliances or power tools, opt for a plug that can handle higher amperage and voltage levels. For household tasks that require less power, a plug designed for standard residential use will be sufficient.
It’s important to note that extension cords are available in various wire gauges, each with its own power capacity. Ensure that the replacement plug you choose matches the gauge of your cord for optimal performance and safety.
Upgrade Opportunities
When replacing the plug on your extension cord, you might also consider upgrades that enhance convenience and safety. Some newer replacement plugs offer features like built-in circuit breakers, LED indicators, or cord locks, providing added protection and ease of use. Evaluate these options based on your specific requirements and budget.
Test and Ensure Cord’s Functionality
Once you have successfully replaced the plug on your extension cord, it is crucial to test its functionality to ensure safety and proper operation. Testing the cord will give you peace of mind and ensure that your revitalized extension cord is ready to be used with confidence.
Start by plugging your newly repaired extension cord into a three-prong receptacle. This will allow you to check if the wires are properly connected and if the cord is grounded. A three-prong receptacle is essential for grounding purposes and should always be used to test your cord’s functionality.
To further verify the integrity of the electrical connections, it is recommended to use a plug-in circuit tester. This handy tool will indicate if there are any wiring faults, such as reversed polarity or open grounds, which could pose a safety hazard. Simply plug the tester into the outlet and observe the indicator lights to ensure proper wiring.
Testing your extension cord’s functionality is a crucial final step in the replacement process. It ensures that you have successfully restored the cord’s electrical integrity and that it is safe to handle. By taking the time to test your cord, you can confidently use it for your power tools or other electrical devices, knowing that it meets the necessary safety standards.
FAQ
Why was your extension cord damaged?
Extension cords can be damaged in various ways, such as being pulled out by the cord instead of the plug, being stepped on or run over, or not following the NEMA plug chart for optimal configuration.
Why is this the only cord repair you should perform?
Experts strongly advise against any repairs other than replacing the plug on extension cords due to safety reasons. Repairs such as using electrical tape are unreliable and can pose a risk of shock.
What will you need for the replacement project?
To replace the plug on your heavy-duty extension cord, you’ll need a set of tools including a screwdriver, wire strippers, a utility knife, and wire-cutting pliers. Additionally, you’ll need a suitable replacement plug that matches the wattage and amperage ratings of your cord.
How do you wire an extension cord plug?
Wiring an extension cord plug is a simple process that involves cutting off the old plug, slicing the jacket, attaching the wires to the terminal screws, and reassembling the replacement plug.
What is the importance of choosing the right replacement plug?
Choosing the right replacement plug is crucial as it ensures proper functionality and safety. Grounded three-prong plugs are suitable for cords with a ground wire, while two-prong polarized plugs are ideal for simple household extension cords.
How do you test and ensure the cord’s functionality?
After replacing the plug on your extension cord, it’s important to test its functionality. Plug it into a three-prong receptacle and use a plug-in circuit tester to check if the wires are properly connected and the cord is grounded.
