Extension cords are a handy tool for providing power to devices and equipment when outlets are not easily accessible. However, these cords can be prone to damage, especially at the plug ends. Wrapping damaged cords with electrical tape may seem like a quick fix, but it’s not a sufficient solution. To ensure safe and reliable electrical connectivity, it’s important to replace the male and female ends of an extension cord when they become damaged or worn out.
Choosing the right replacement plug for your extension cord is crucial. The plug should match the cord’s specifications, such as grounded or two-prong polarized plugs. Additionally, you’ll need a few tools for the plug replacement process, including wire cutters, a utility knife, wire strippers, and a Phillips screwdriver.
Key Takeaways:
- Extension cords can be easily damaged and require plug replacements.
- Wrapping damaged cords with electrical tape is not sufficient.
- Choosing the right replacement plug is important for proper electrical connectivity.
- Tools needed for plug replacement include wire cutters, a utility knife, wire strippers, and a Phillips screwdriver.
- Replacing damaged male and female ends ensures safe and reliable power distribution.
How to Replace a Plug on an Extension Cord
To ensure the proper functioning of your extension cord, it’s essential to replace a damaged plug promptly. By following a few simple steps, you can easily replace the plug and restore your extension cord to full working condition.
Here’s a step-by-step guide on how to replace a plug on an extension cord:
- Start by cutting off the old plug and any damaged portion of the cord using wire cutters or a utility knife. This will ensure a clean and secure connection.
- Slide the new plug over the cut end of the cord, making sure it fits snugly.
- Strip the insulation from the conducting wires inside the cord. Use wire strippers to expose a small portion of the copper wires.
- If your extension cord has a white and black wire, tie them into an underwriter’s knot if possible. This knot helps prevent stress on the wires.
- Connect the wires to the corresponding terminal screws on the replacement plug. The black wire should be connected to the brass screw, and the white wire to the silver screw. If your plug has a green grounding wire, connect it to the green screw.
- Tighten the terminal screws securely to ensure a solid connection.
- Finally, tighten the plug clamp onto the cord. This will provide strain relief and help prevent the wires from pulling out.
Once you have completed these steps, you will have successfully replaced the plug on your extension cord. Make sure to test the cord before use to ensure a safe and reliable connection.
Replacing a plug on an extension cord may seem daunting at first, but with the right tools and step-by-step instructions, it can be a straightforward process. By taking the time to properly maintain and repair your extension cord, you can ensure its longevity and safety.
Wiring an Extension Cord Plug
When it comes to replacing a plug on an extension cord, wiring it correctly is crucial for your safety and the proper functioning of the cord. Here’s a step-by-step guide on how to wire a replacement plug for your extension cord:
- Start by cutting off the damaged plug and slicing the jacket about 3/4 inch from the end of the cord. This will expose the wires inside.
- Next, strip 1/2 inch of insulation from each wire to reveal the copper conductors.
- Attach the exposed copper wire to the appropriate terminal screws on the replacement plug. The black wire goes to the brass (or hot) screw, and the white wire goes to the silver (or neutral) screw.
- It’s important to wrap the wire clockwise around each terminal to ensure a secure connection. This helps prevent the wires from coming loose over time.
- Tighten the terminal screws securely to ensure a stable electrical connection.
- Once you’ve wired the plug, reassemble it by putting the plug housing back together.
- Finally, it’s crucial to test the cord with a plug-in circuit tester to ensure proper wiring and grounding. This will help identify any potential issues before using the cord.
Properly wiring the plug on your extension cord is essential for maintaining a safe and reliable electrical connection. Taking the time to wire it correctly ensures that you can use your extension cord with confidence, knowing that it’s properly functioning and meets electrical safety standards.

The Contractor’s Wrap: A Tangle-Free Solution
The Contractor’s Wrap is a simple yet effective technique that ensures extension cords remain tangle-free and easy to use. By following this method, you can save time and avoid frustrating knots when using your extension cords.
- Start by connecting the male and female ends of the cord together.
- Once connected, make an overhand knot at the end of the cord to secure it.
- Next, create a chain of successive slip knots by looping the cord and pulling it through itself.
- Continue this looping process until you reach the other end of the cord.
- Finally, tie off the end of the cord to secure the wrap.
To unravel the cord, simply undo the overhand knot at the end and pull. The chain of slip knots will easily unwind, allowing you to use the cord without any tangles or knots.
For longer cords, you can double up the strands to further minimize the chances of tangling. Instead of pulling two strands through each loop, pull four strands through each loop. This will create a more robust and secure wrap, especially for longer extension cords.
By using the Contractor’s Wrap technique, you can keep your extension cords organized and ready for use whenever you need them. No more untangling or wrestling with knotted cords – simply unwind and get to work.
Take a look at the image below for a visual demonstration of the Contractor’s Wrap:

When and Why to Replace an Extension Cord Plug
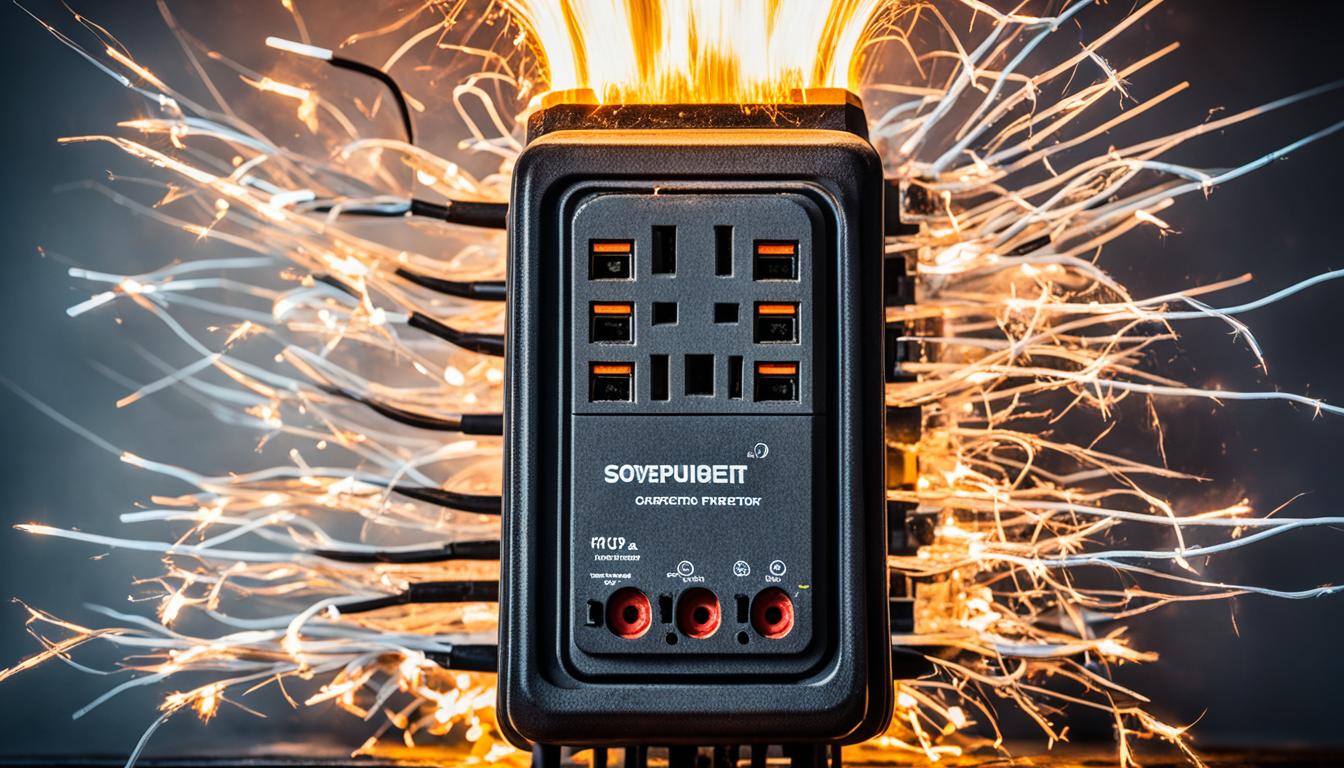
It is important to prioritize safety when dealing with damaged extension cords. If you notice exposed wires or a loose ground prong, it is crucial to replace the plug as soon as possible. Wrapping damaged cords with electrical tape may seem like a quick fix, but it is not a sufficient repair. By replacing the plug, you ensure safe and reliable electrical connectivity.
Choosing the right type of plug for your extension cord is also essential. Consider the cord’s specifications, such as whether it requires a grounded three-prong plug or a two-prong polarized plug. Using the appropriate plug ensures compatibility and minimizes the risk of electrical hazards.
Key Reasons to Replace an Extension Cord Plug:
- Exposed Wires: Exposed wires pose a significant danger, increasing the risk of electrical shock or fire hazards. Promptly replacing the plug eliminates this risk.
- Loose Ground Prong: A loose ground prong can disrupt the grounding of the cord, potentially leading to electrical malfunctions. Ensure a secure and effective ground connection by replacing the plug.
- Compatibility: Different cords may require specific plug types to ensure optimal electrical performance. Replace the plug with the correct type for your cord to prevent any issues and maintain safety.
Remember, regular maintenance and inspection of your extension cords are essential to identify any signs of damage or wear. Replacing a damaged plug is a simple yet crucial step in maintaining the safety and functionality of your electrical connections.
Benefits of Using Male and Female Extension Cord Ends
Male and female extension cord ends provide numerous advantages and enhance the functionality of your extension cords. These versatile connectors allow you to connect multiple cords together, creating longer lengths and making it easier to reach outlets that are further away. Whether you’re working on DIY projects in your garage or setting up equipment for an outdoor event, male and female extension cord ends offer convenience and flexibility.
By utilizing male and female ends, you can connect different types of extension cords together, further expanding their usage. For example, you can connect a two-prong polarized cord to a grounded three-prong cord, enabling electrical connectivity in various situations. This flexibility allows you to adapt to different power requirements and ensures compatibility with a wider range of electrical devices and appliances.
Not only do male and female extension cord ends offer practicality, but they also enhance safety. When properly used, these connectors ensure a secure connection, reducing the risk of electrical hazards. They provide a stable and reliable power supply, giving you peace of mind during your projects or events.
To visually illustrate the benefits of using male and female extension cord ends, take a look at the table below:
| Benefits | Description |
|---|---|
| Versatility | Connect multiple extension cords to create longer lengths and reach distant outlets |
| Compatibility | Enable the connection of different types of extension cords for various power requirements |
| Convenience | Enhance accessibility to power sources without the need for additional outlets |
| Safety | Ensure secure and reliable electrical connections, reducing the risk of electrical hazards |
In summary, male and female extension cord ends provide versatility, compatibility, convenience, and safety. By incorporating these connectors into your extension cord setups, you can maximize their functionality and make electrical connections easier and safer.
Tips for Proper Extension Cord Storage
Properly storing your extension cords is essential to prevent tangling and damage. Follow these tips to ensure your cords stay organized and in good condition:
1. Use the Contractor’s Wrap method: When you’re done using an extension cord, wrap it using the Contractor’s Wrap technique mentioned earlier. This method involves connecting the male and female ends of the cord, making an overhand knot at the end, and creating a chain of successive slip knots. This wrap keeps the cord neat and tangle-free until you need it again.
2. Hang your cords: After wrapping your extension cords, hang them on hooks or pegs for easy organization and access. This not only keeps them off the ground, reducing the risk of damage, but also allows you to see and select the cord you need without hassle.
3. Choose a cool and dry storage location: It’s important to store your extension cords in a cool and dry area. Heat and humidity can degrade the cords over time. Look for a place free from moisture, direct sunlight, and extreme temperatures to protect the cords and extend their lifespan.
4. Regularly inspect and replace damaged cords: Routinely check your extension cords for any signs of damage or wear. If you notice exposed wires, fraying, or other issues, it’s crucial to replace the cord immediately. Using damaged cords can pose safety hazards and lead to electrical accidents.
By implementing these storage tips, you can keep your extension cords organized, protected, and in excellent working condition for all your future electrical needs.
FAQ
What is the process for replacing a plug on an extension cord?
To replace a plug on an extension cord, start by cutting off the old plug and any damaged portion of the cord. Slide the new plug over the cut end of the cord. Strip the insulation from the conducting wires inside the cord, tie the white and black wires into an underwriter’s knot if possible, and connect the wires to the corresponding terminal screws on the plug. Finally, tighten the plug clamp onto the cord.
How do I wire a replacement plug for an extension cord?
To wire a replacement plug for an extension cord, cut off the damaged plug and slice the jacket about 3/4 inch from the end of the cord. Strip 1/2 inch of insulation from each wire and attach the exposed copper to the appropriate terminal screw on the replacement plug. Wrap the wire clockwise around each terminal and tighten the screws securely. Reassemble the plug and test the cord with a plug-in circuit tester to ensure proper wiring and grounding.
What is the Contractor’s Wrap method for organizing extension cords?
The Contractor’s Wrap is a technique that prevents extension cords from tangling and knotting. Connect the male and female ends of the cord together, make an overhand knot at the end, and create a chain of successive slip knots. Tie off the end to secure the wrap. To unravel the cord, simply undo the overhand knot and pull. For longer cords, double up by pulling four strands through each loop instead of two.
Why is it important to replace an extension cord plug?
It is important to replace an extension cord plug when the cord is damaged, such as having exposed wires or a loose ground prong. Wrapping damaged cords with electrical tape is not a sufficient repair. Replacing the plug ensures safe and reliable electrical connectivity. It is also necessary to choose the right type of plug for the cord, such as a grounded three-prong plug or a two-prong polarized plug, based on the cord’s specifications.
What are the benefits of using male and female extension cord ends?
Male and female extension cord ends offer versatility and convenience. They allow for the connection of multiple extension cords to create longer lengths, making it easier to reach outlets that are further away. Male and female ends also enable the use of different types of extension cords together, such as connecting a two-prong polarized cord to a grounded three-prong cord. This flexibility provides more options for electrical connectivity in various situations.
How should I store extension cords to prevent damage?
To prevent extension cords from tangling and becoming damaged during storage, use the Contractor’s Wrap method as described earlier. Hang the wrapped cords for easy organization and access. Additionally, store extension cords in a cool and dry location to prolong their lifespan and protect them from environmental factors. Regularly check the cords for any signs of damage or wear and replace them as needed to maintain safety and functionality.